Golang Syntax
为什么要学习go语言
- 同步方式轻松实现高并发,充分利用多核
- 基于消息传递的通信方式
- 适合服务器和网络编程
- 有垃圾回收机制
- 静态语言,有编译过程,和独立的静态可执行文件,只依赖glibc
- 不像python要安装各种库,java也要JRE
- 兼顾python的易开发性和c的性能
- 内存占用极小,支持10W+的并行
一些缺点
- 实际运行时,由于GC的影响,延迟会比较严重
- 代码会有很多重复的地方
有趣的工具
- gofmt
- gofix
- govet
数据类型
- int8类型 表示 -128~127
- Channel 类型
- 切片类型 (可变长数组
变量声明
第一种,指定变量类型,如果没有初始化,则变量默认为零值。
//特殊
var a *int
var a []int
var a map[string] int
var a chan int
var a func(string) int
var a error // error 是接口
第二种,根据值自行判定变量类型。
第三种,使用声明符号:=
但是如果变量已经使用 var 声明过了,再使用 := 声明变量,就产生编译错误,格式:
循环语句
并发和通道通讯
go函数
Go 语言支持并发,我们只需要通过 go 关键字来开启 goroutine 即可。
goroutine 是轻量级线程,goroutine 的调度是由 Golang 运行时进行管理的。
goroutine 语法格式:go 函数名( 参数列表 )
Go 允许使用 go 语句开启一个新的运行期线程, 即 goroutine,以一个不同的、新创建的 goroutine 来执行一个函数。 同一个程序中的所有 goroutine 共享同一个地址空间。
通道(channel)
通道可用于两个 goroutine 之间通过传递一个指定类型的值来同步运行和通讯。操作符 <- 用于指定通道的方向,发送或接收。如果未指定方向,则为双向通道。
声明一个通道很简单,我们使用chan关键字即可,通道在使用前必须先创建:
example
1
func countGoodRectangles(rectangles [][]int) int {
    cnt, maxLen := 0, 0
    for _, rectangle := range rectangles {
        k := int(math.Min(float64(rectangle[0]), float64(rectangle[1])))
        if k == maxLen {
            cnt++
        }
        if k > maxLen {
            maxLen, cnt = k, 1
        }
    }
    return cnt
}
webhook
https://github.com/swangeese/acsa-web/tree/webhook
需要进一步的研究学习
暂无
遇到的问题
暂无
开题缘由、总结、反思、吐槽~~
参考文献
https://www.runoob.com/go/go-concurrent.html
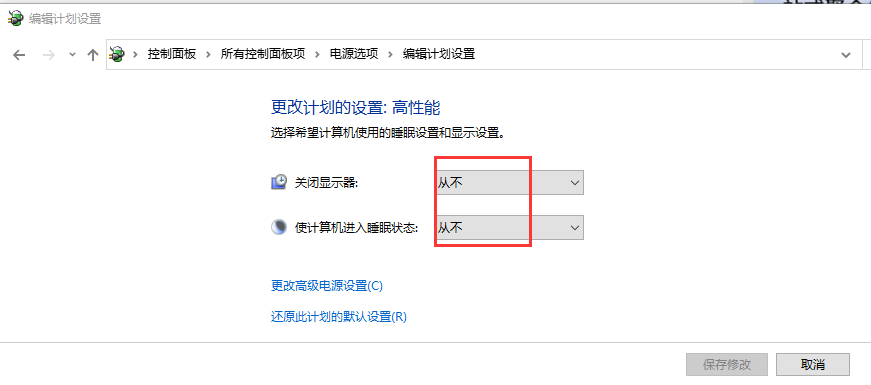
 还是不行,猜测是


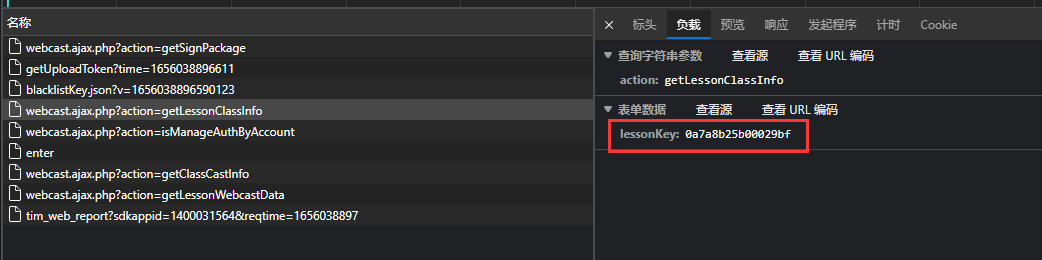

 但是不打开网站没有php返回,网页只能得到。
 可通过下面API返回需要的, 可以见
 data输入
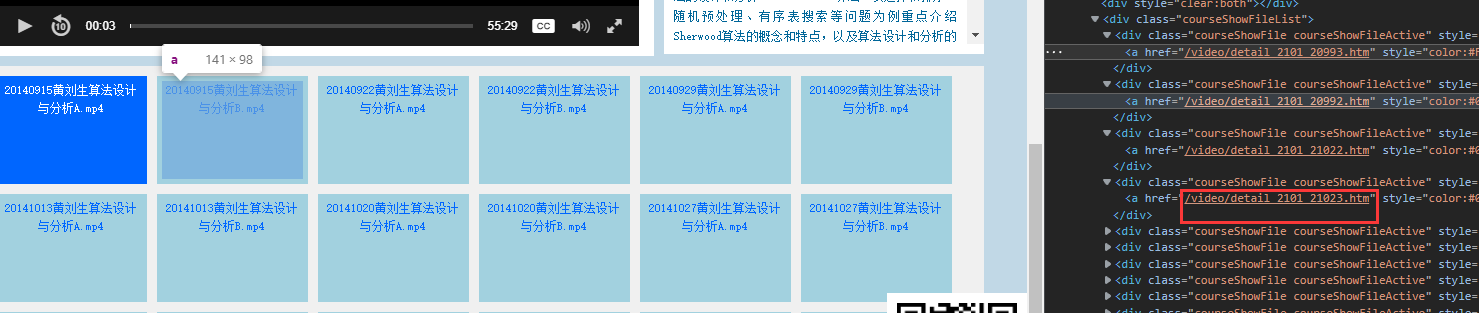
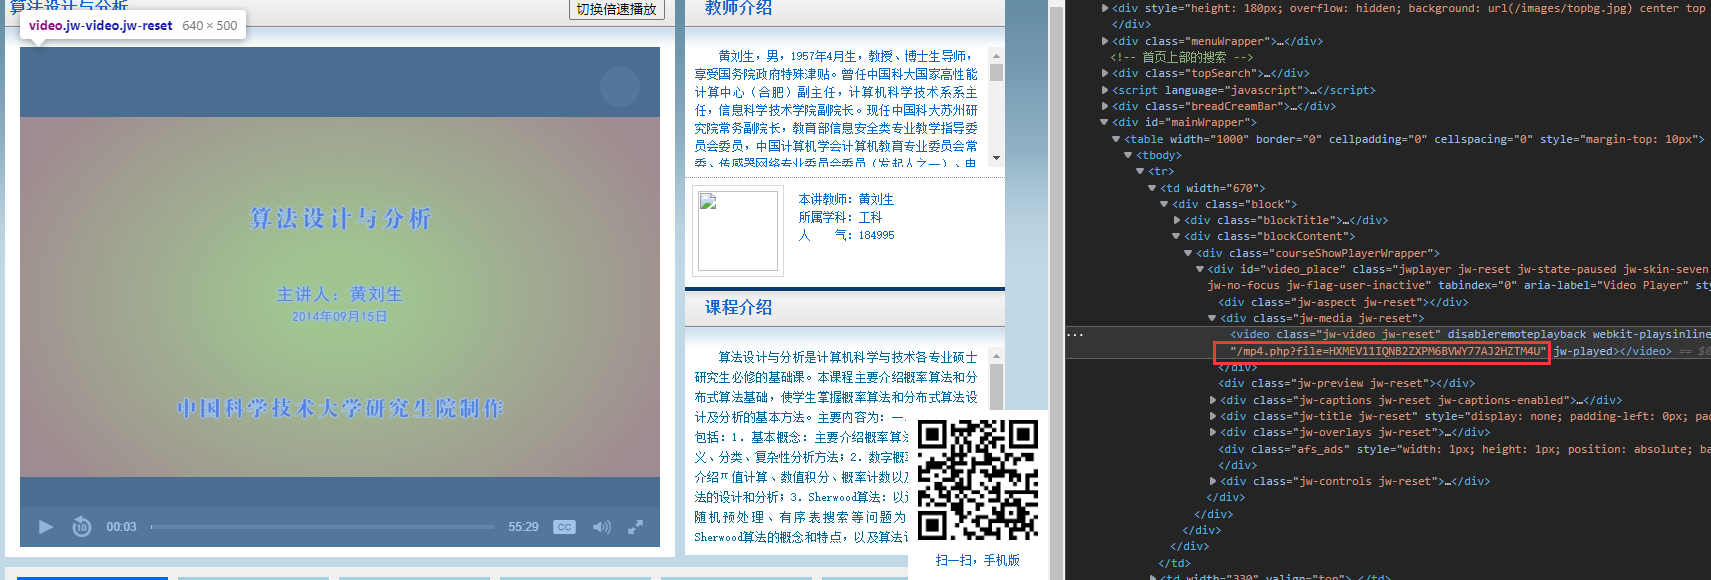
 返回数据
返回数据